Creating Art With a Blue Birds Stained Glass Window Panel
Creating art with a blue bird stained glass window panel is an exciting project. You will use your imagination to pick bright colors and interesting shapes for your design. These choices will not only make the bird stand out but also create a beautiful piece of art.
Before you start, gather the basic materials you will need. This includes stained glass sheets in blue and other colors, a glass cutter, lead came or foil, and tools for soldering. Make sure you have a clean workspace.
As you begin, take your time to cut the glass pieces carefully. Fit them together like a puzzle. Once you have the pieces ready, it's time to solder them together. This step will hold your design in place.
Finally, hang your stained glass window panel where it can catch the light. Watch how the sun shines through, creating a lovely mix of colors. Creating this art piece can add beauty to your home and bring joy to anyone who sees it. Enjoy your crafting journey!
A Quick Overview
Sure! Here's a simpler version of your stained glass window instructions.
—
- Draw Your Design: Start by making a simple drawing. Make the blue bird the most important part of your stained glass panel.
- Pick Your Glass: Choose different shades of blue glass for the bird. Pick other colors that look nice with the blue and fit well with your drawing.
- Cut the Glass: Use a glass cutter to carefully cut each piece of glass. Make sure every piece fits nicely in your design.
- Put It Together: Use copper foil and a soldering iron to connect the glass pieces. Keep everything balanced and even as you work.
- Finish Up: Clean the panel to make it shine. Choose a frame that looks good and shows off your art in the best light.
—
This guide helps you make a beautiful blue bird stained glass window panel. Enjoy your project!
Materials Needed for Your Stained Glass Project
To make a stained glass window panel, you'll need some important materials. First, pick your glass. You can choose from different colors and textures. Opaque glass can add brightness, while translucent glass lets light shine through softly. Clear glass can create cool designs too.
Safety is key! Always wear gloves and goggles to keep yourself safe when cutting and handling the glass. A good glass cutter will help you make neat cuts, and a flat work surface will make your work easier.
You'll also need zinc or copper foil to stick your glass pieces together. Finally, get a soldering iron. This tool will help you connect everything securely.
With these materials ready, you can start creating a beautiful stained glass piece that you'll be proud to share!
Designing Your Blue Bird Panel
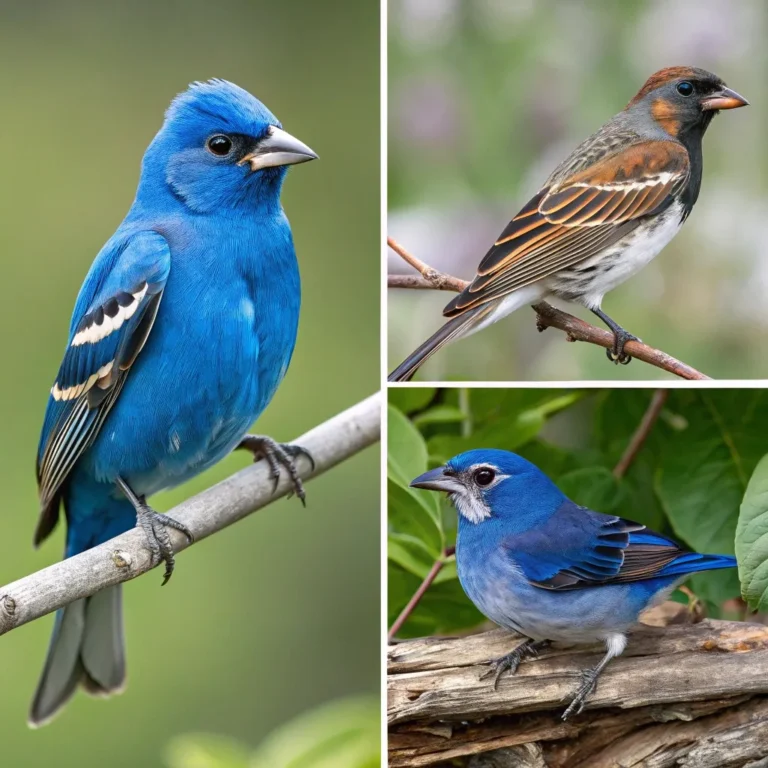
Now that you have your materials, it's time to design your blue bird panel! Start by drawing your ideas. Think about a bird shape that looks free and graceful. Look at nature, art, or your own memories for inspiration.
Here are some things to keep in mind:
- Focus: Make sure the bird stands out. You can add things like branches or flowers around it.
- Style: Decide if you want to make it look real or if you prefer a fun, abstract style. Choose what feels right for you.
- Balance: Use colors and shapes that look good together. Make sure nothing feels too heavy or too light.
As you create, remember this panel is a reflection of you. It will be a piece of art that you can cherish! Enjoy the process!
Choosing the Right Glass Colors
Choosing colors for your stained glass blue bird panel can be fun! Start by picking shades that remind you of nature. Bright blues work great for the bird. Rich greens can make the leaves around it pop. You might want to add a little orange or yellow for some warmth and brightness.
Don't forget about how clear or cloudy the glass is. Mixing clear and cloudy pieces can make your art look lively.
Be playful with your colors! Try out different combinations. You might find surprising and beautiful matches. Your color choices will shape your art and connect with people who love nature, bringing everyone closer together.
Have fun creating!
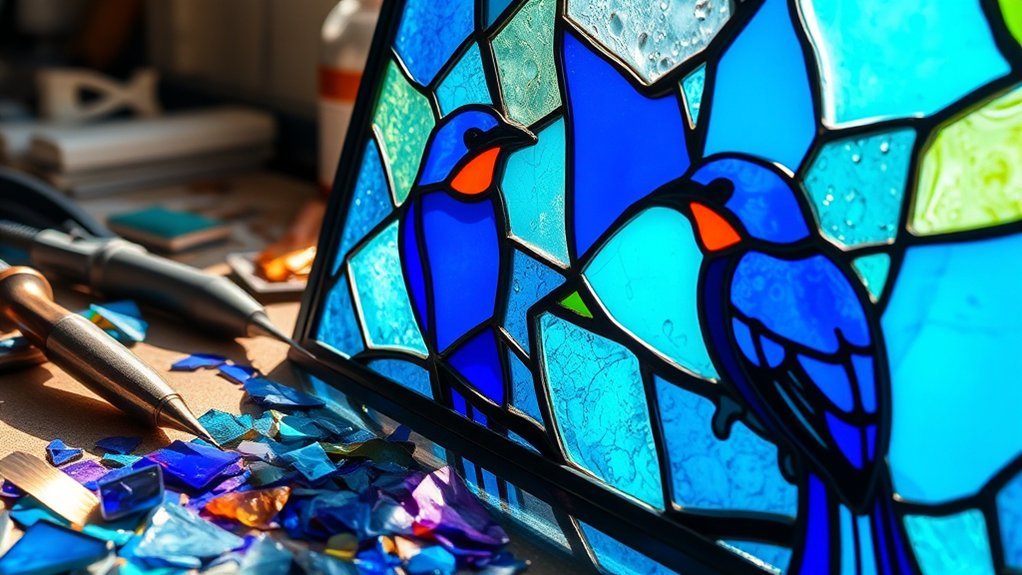
Cutting and Shaping the Glass Pieces
After choosing your bright colors, it's time to cut and shape the glass pieces. Cutting glass and shaping it well will make your stained glass project shine.
Here are some simple steps to follow:
- Measure and mark your glass based on your design. Make sure you're accurate.
- Use glass cutters to score along the marked lines. Apply steady pressure for clean breaks.
- Use tools like grinders and saws for tricky shapes. Take your time to refine the edges.
Each piece should show the beauty of your design.
Assembling the Glass Panel
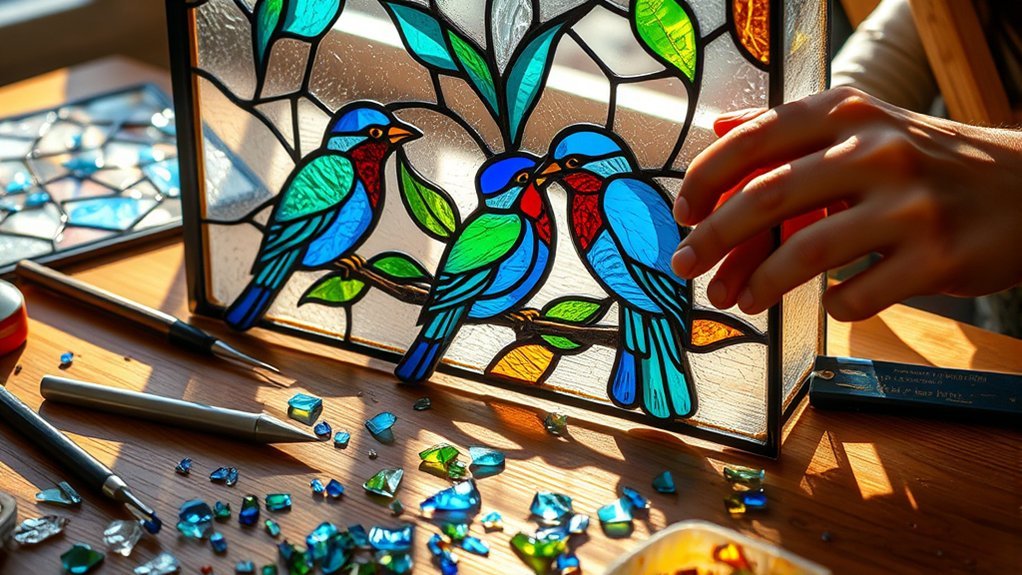
As you move from cutting to assembling the glass panel, each piece starts to fit into your design. First, get your tools ready. Make sure you have everything you need, like copper foil and pliers, close by. A clean workspace helps you work better.
Next, lay out your glass pieces based on your design. Adjust them until they fit nicely together. Use a little bit of glue to hold them in place. This way, you can check for balance and symmetry. This is where your ideas can really shine as the colors and textures come together.
Take your time with each adjustment. Patience is important. Each small change gets you closer to the beautiful stained glass piece you want. Enjoy every part of this fun process!
Soldering Techniques for Stained Glass
Soldering techniques are important for making your stained glass project look great. Using the right tools and skills can really improve your work. Here are some simple tips to help you solder better:
- Pick the right solder: Lead-based solder melts easier, while lead-free solder is safer but needs more heat.
- Use a good soldering iron: A clean soldering iron with the right tip helps you work better and keeps the solder from clumping.
- Move smoothly: Slide the soldering iron along the seams. Add solder only where it's needed to make nice, even joints.
These tips can help you create beautiful stained glass pieces that you'll be proud of!
Finishing Touches: Cleaning and Framing
After you finish soldering your stained glass panel, it's time to add the finishing touches.
Start by cleaning your piece gently. Use a soft cloth and mix some water with vinegar. This will help remove any solder marks and fingerprints. Cleaning makes the colors of your blue birds shine brighter.
Next, think about how you want to frame your artwork. A wooden frame gives your panel a warm feel, while a metal frame makes it look modern. Choose a frame that matches your piece without taking away from it.
Now, secure your panel in the frame. This protects it and gets it ready for display.
With these final steps, you aren't just completing a project; you're creating a beautiful piece that others will enjoy for years to come.
Tips for Displaying Your Stained Glass Art
Once your stained glass panel is nicely framed, it's time to find a great spot to show it off.
How you display your art can make it look even more amazing. Here are some easy tips to help you:
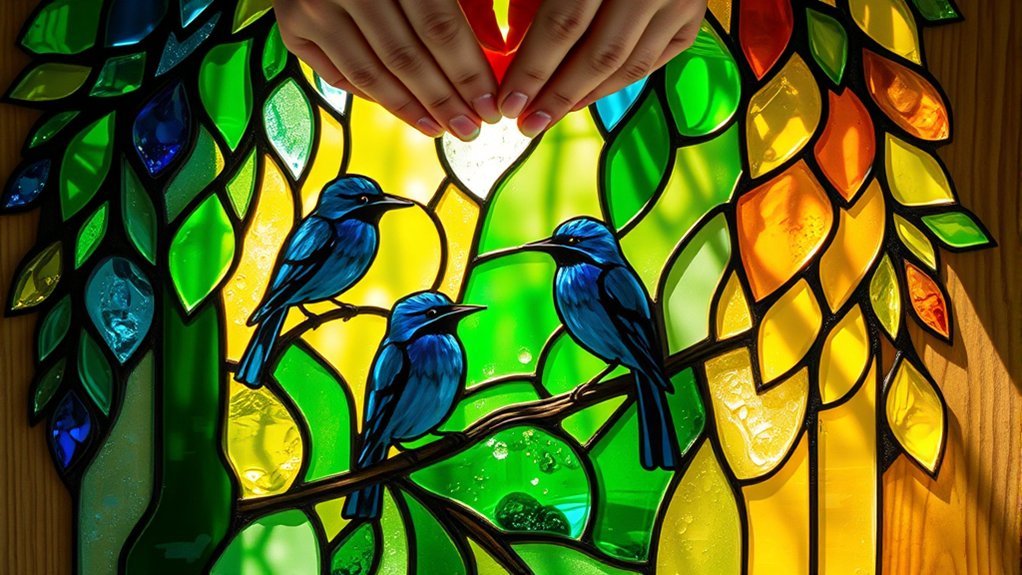
- Choose Natural Light: Hang your panel where sunlight can reach it. Sunlight makes the colors shine and adds beautiful reflections.
- Use Backlighting: Place your panel against a bright wall or use a stand with lights. This makes your art pop, especially in darker rooms.
- Pick the Right Height and Angle: Hang your panel at eye level. Tilt it slightly so everyone can see its beauty up close.
These simple steps will help make your stained glass art stand out and bring joy to everyone who sees it!
Caring for Your Stained Glass Creation
To keep your stained glass creation looking bright and beautiful, you need to care for it properly. Start by dusting your panel gently with a soft, lint-free cloth.
For a deeper clean, use a gentle cleaner made just for stained glass. Avoid harsh scrubs or rough cleaners because they can harm the surface.
After cleaning, you might want to add a protective coat. This layer helps to protect against dirt and sunlight, which keeps the colors from fading. Make sure to keep your glass away from direct sunlight for long times, too.
Frequently Asked Questions
Can I Use Recycled Glass for This Stained Glass Project?
Yes, you can use recycled glass for your stained glass project! It's a fun way to create beautiful art. Recycled glass adds a unique touch to your pieces. Plus, using recycled materials helps the environment. Enjoy making your art!
How Long Does It Take to Complete a Stained Glass Window Panel?
Making a stained glass window panel can take several weeks. How long it takes depends on your skill level and how complicated your design is.
You will spend time cutting the glass and putting it together. If your design has many details, it might take longer. Enjoy the process, and have fun creating your beautiful piece!
Are There Specific Safety Precautions for Using Glass Cutters?
When you use a glass cutter, staying safe is very important. First, always wear protective glasses to shield your eyes. Next, put on gloves to protect your hands from cuts. Make sure your work area is steady and secure.
Learning how to cut glass the right way can help you avoid accidents. So, practice carefully and have fun with your projects. Safety first, and then enjoy creating!
What Is the Best Type of Frame for My Stained Glass Panel?
For your stained glass panel, think about using a strong wooden frame or a sleek metal frame. Wooden frames can give a warm feel, while metal frames provide a modern touch. Both options will show off your artwork nicely and keep it safe. Choose the frame that matches your style and enjoy your beautiful stained glass!
Can I Install the Stained Glass Window Outdoors?
Yes, you can install a stained glass window outdoors. Just make sure it is strong enough for outdoor use and can handle different weather conditions. Choose a sturdy frame. Use sealants to protect the window from rain and wind. This way, your stained glass piece will look beautiful outside!

Joyce is the passionate founder of Chirping Hearts, a website dedicated to sharing her love for birds and providing valuable information about avian life. With a background in ornithology and years of experience in birdwatching, Joyce aims to inspire others to appreciate the beauty and diversity of birds. Through her engaging articles and guides, she hopes to foster a community of bird enthusiasts who share her enthusiasm for these incredible creatures. When she’s not writing, Joyce enjoys exploring nature trails and observing birds in their natural habitats.